See other “How to”
Hemostasis by clips
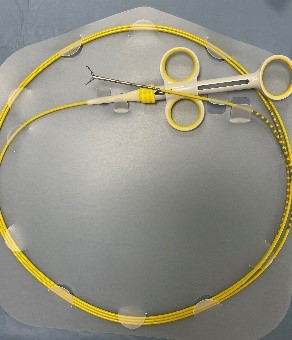
Metal clips are an indispensable therapeutic option for mechanical hemostasis. Clips of various types, shapes, sizes and colors are currently available. There are 2 major types, new generation disposable clips and reusable loading system clips respectively (such clips are cheap but have low performance and can be opened and closed only once). The new generation clips can be reopened and repositioned and have an efficient and faster rotation system than the others.
In case of emergency, start with a top clip that can be re-opened and repositioned, then continue with clips with a reusable loading system.
There are long, short, right-angled, obtuse clips and of various colors:
– yellow (standard clips, used for small vessel bleeding)
– blue (long clips, for bleeding and large perforations)
– white (short clips, used mainly for marking)
– purple (with wide opening, used after EMR or before polypectomy in the case of polyps with a thick pedicle)
- The next generation disposable clips
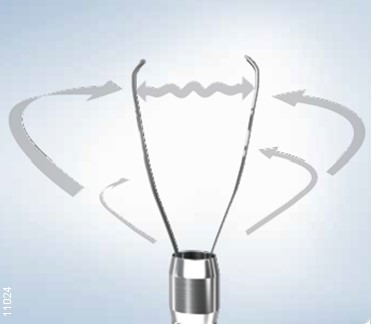
New generation hemo-clips (Micro-tech, Olympus, Cook, etc.), can be closed and opened as many times as needed for precise placement. Robust nitinol reinforced jaws provide additional stability. They have a simple design, can detach the clip in one step. They can capture as much tissue as is needed, more or less. They can rotate 360 degrees, some in both directions. They are used for hemostasis and closure of mucosal / submucosal defects (generally smaller than 3 cm) resulting from endoscopic mucosal resection / endoscopic submucosal dissection procedure.
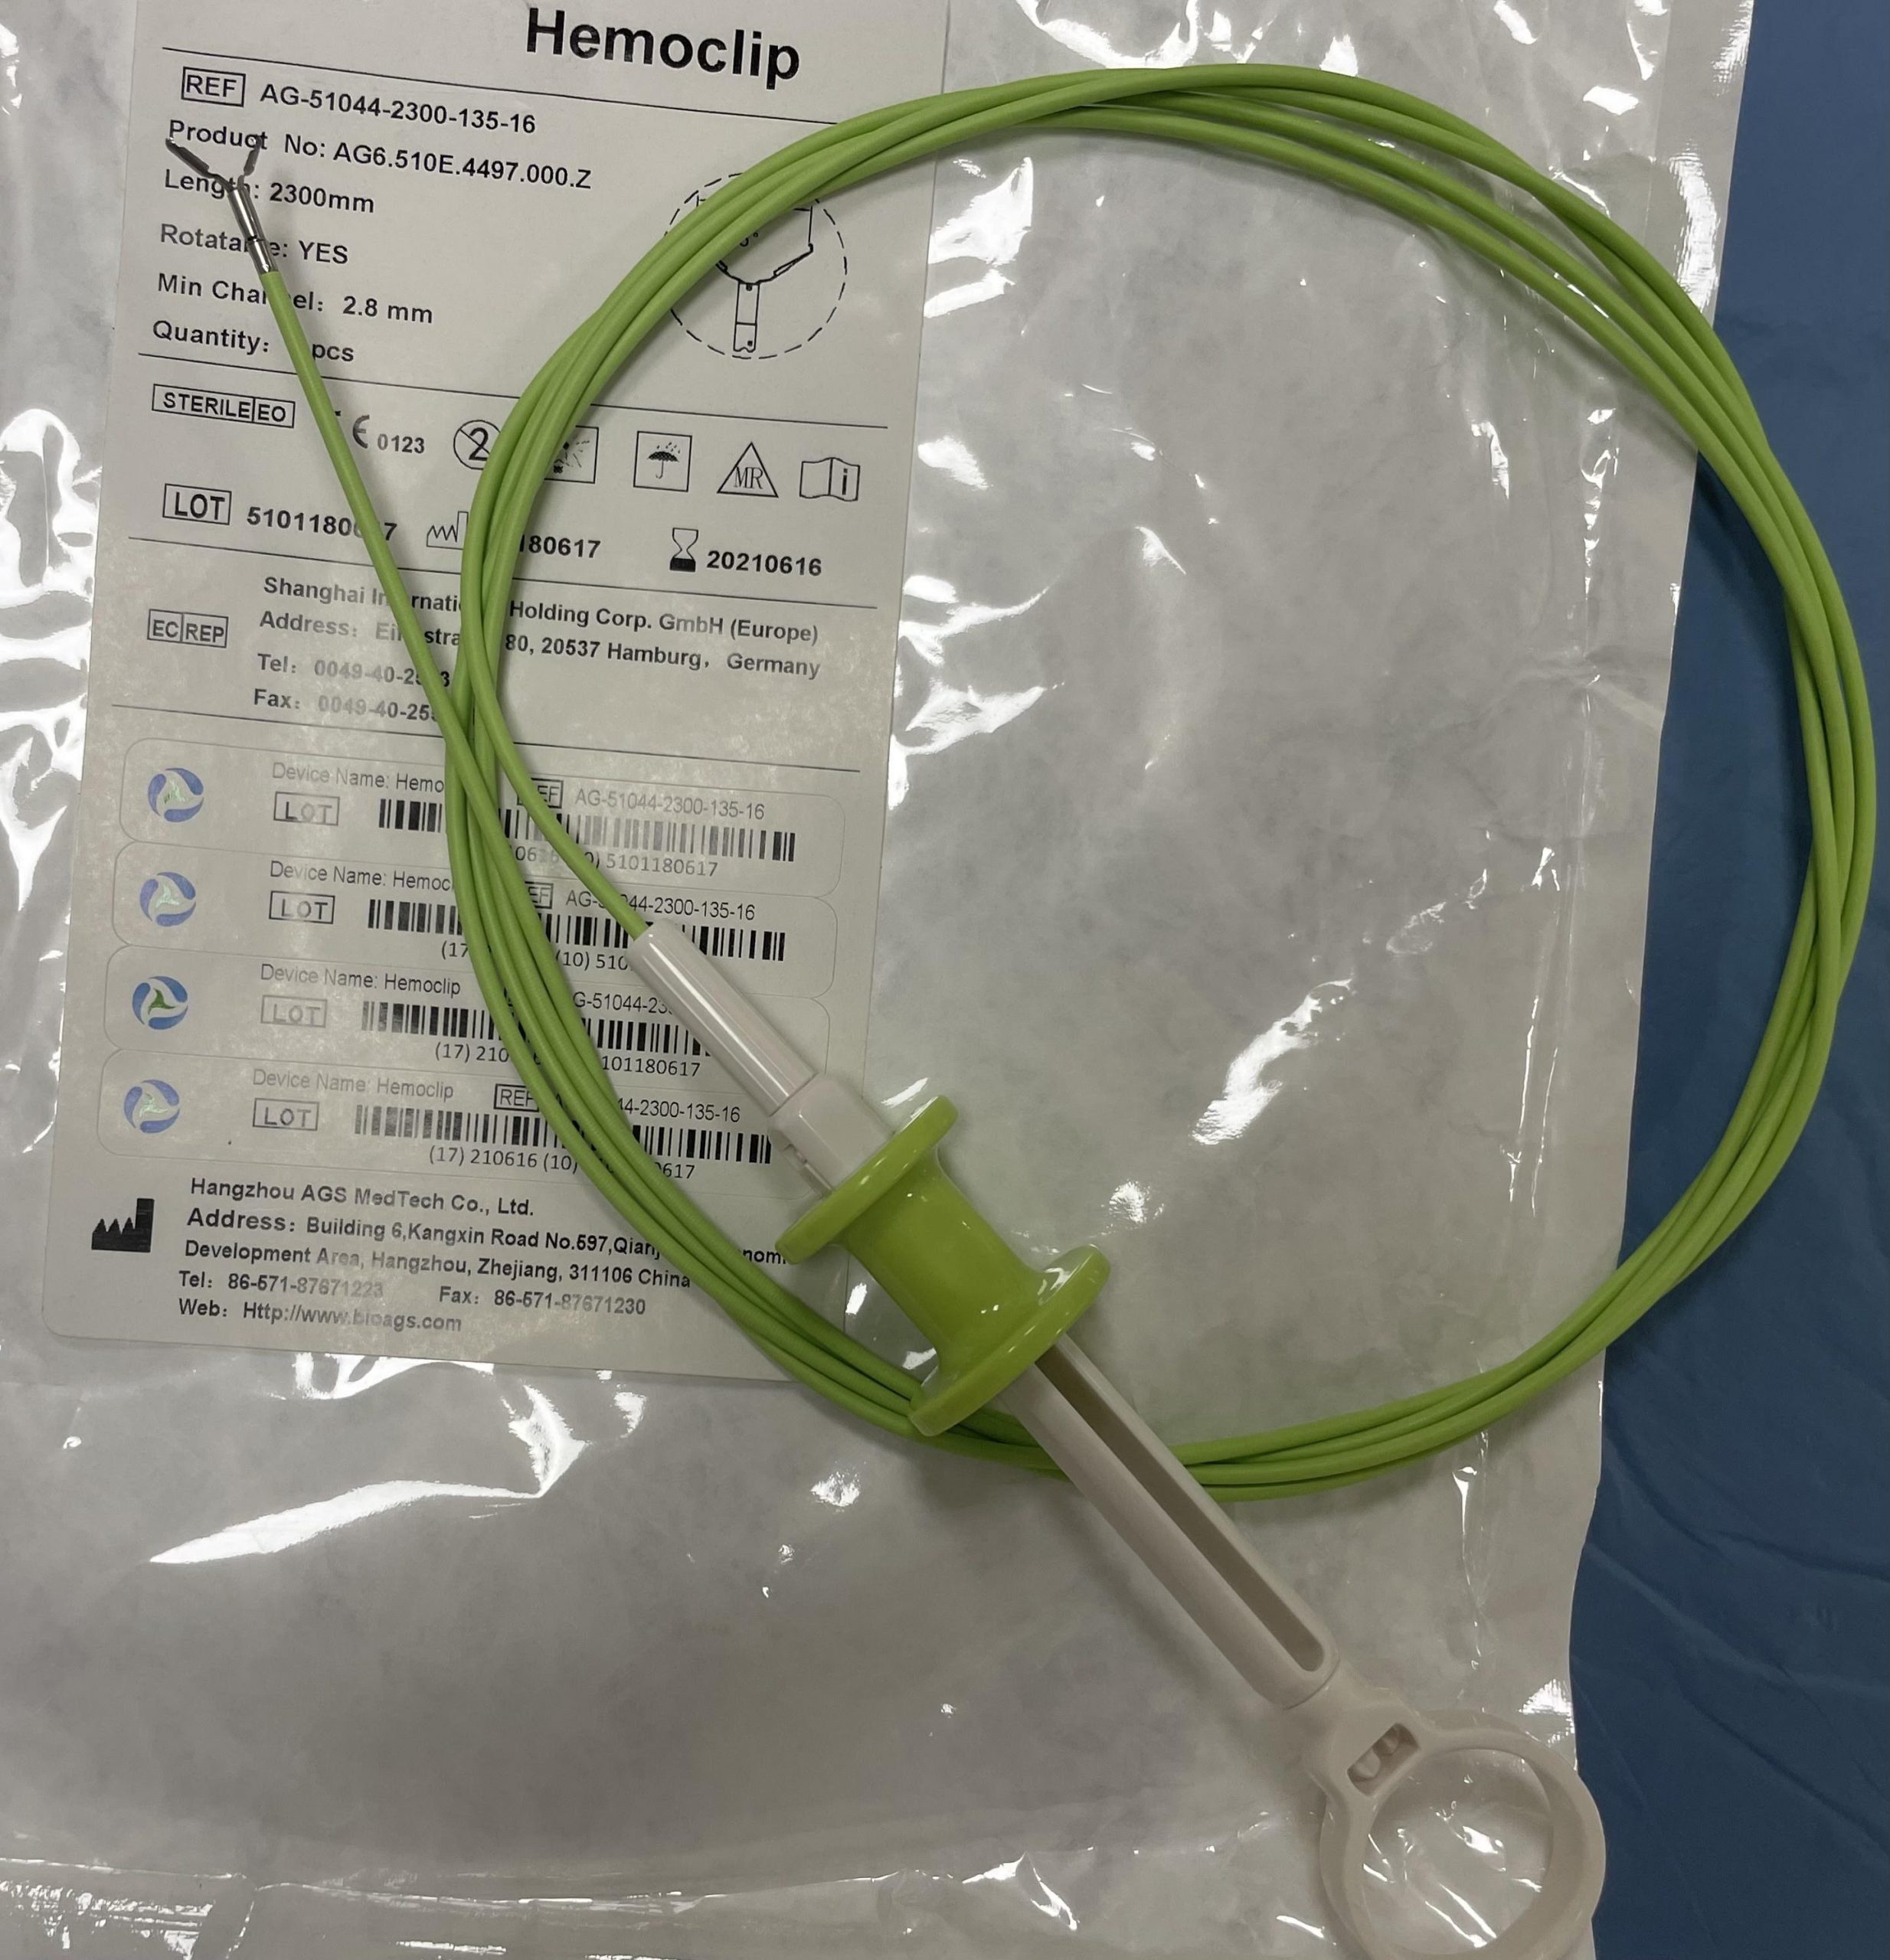
2. Clips with reusable charging system
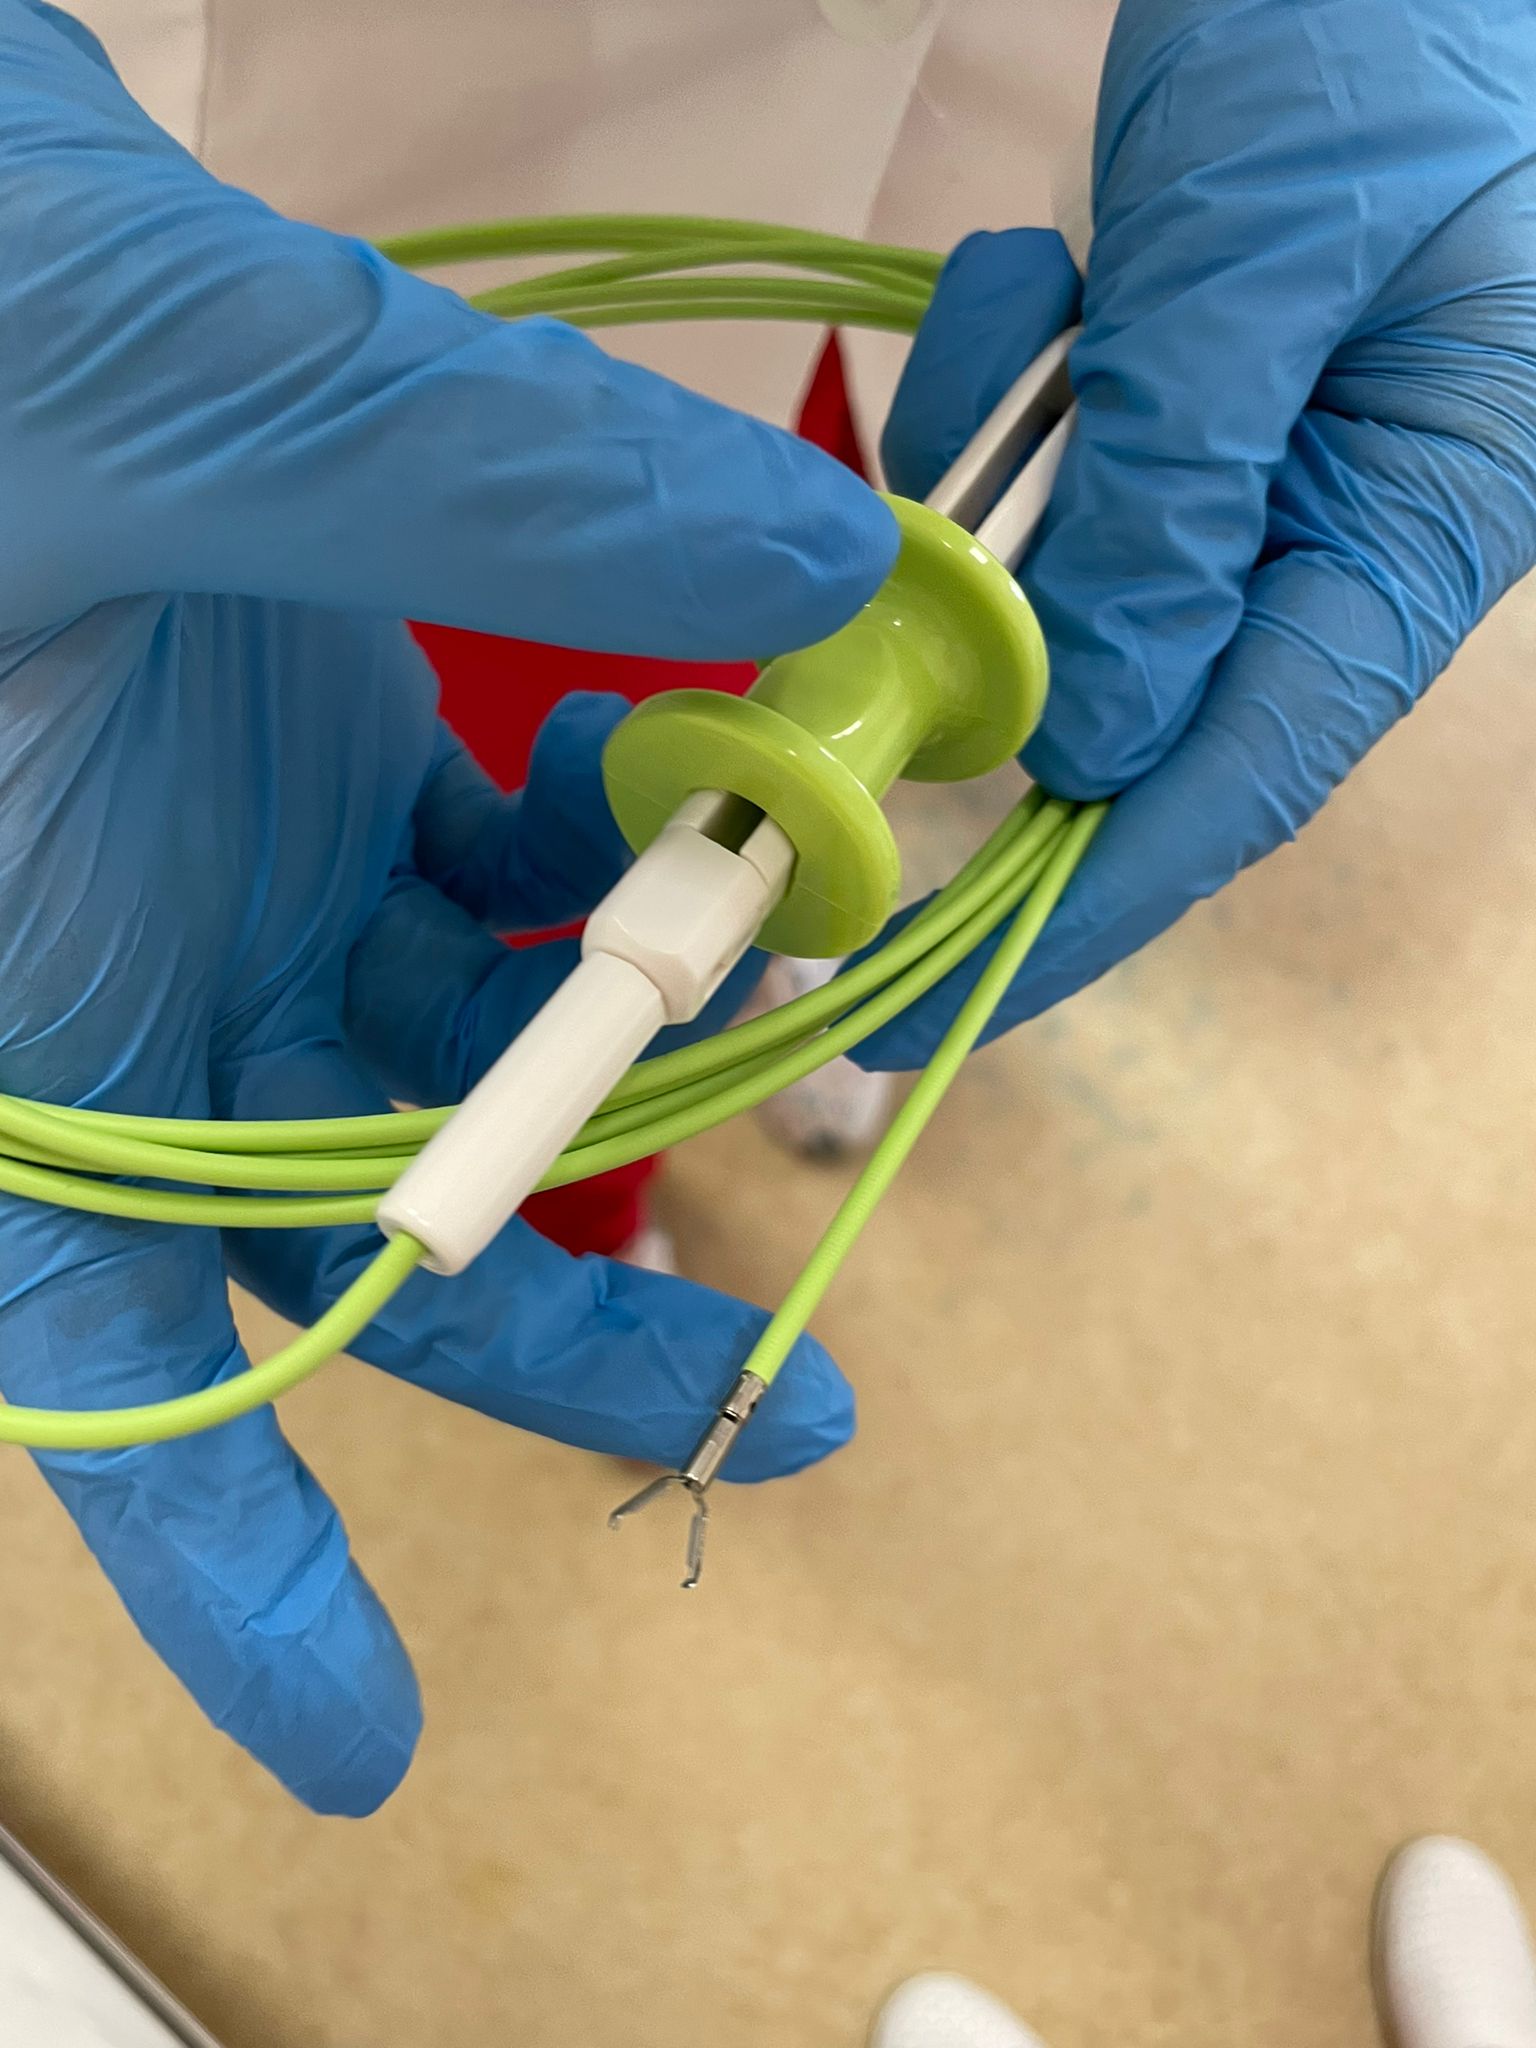
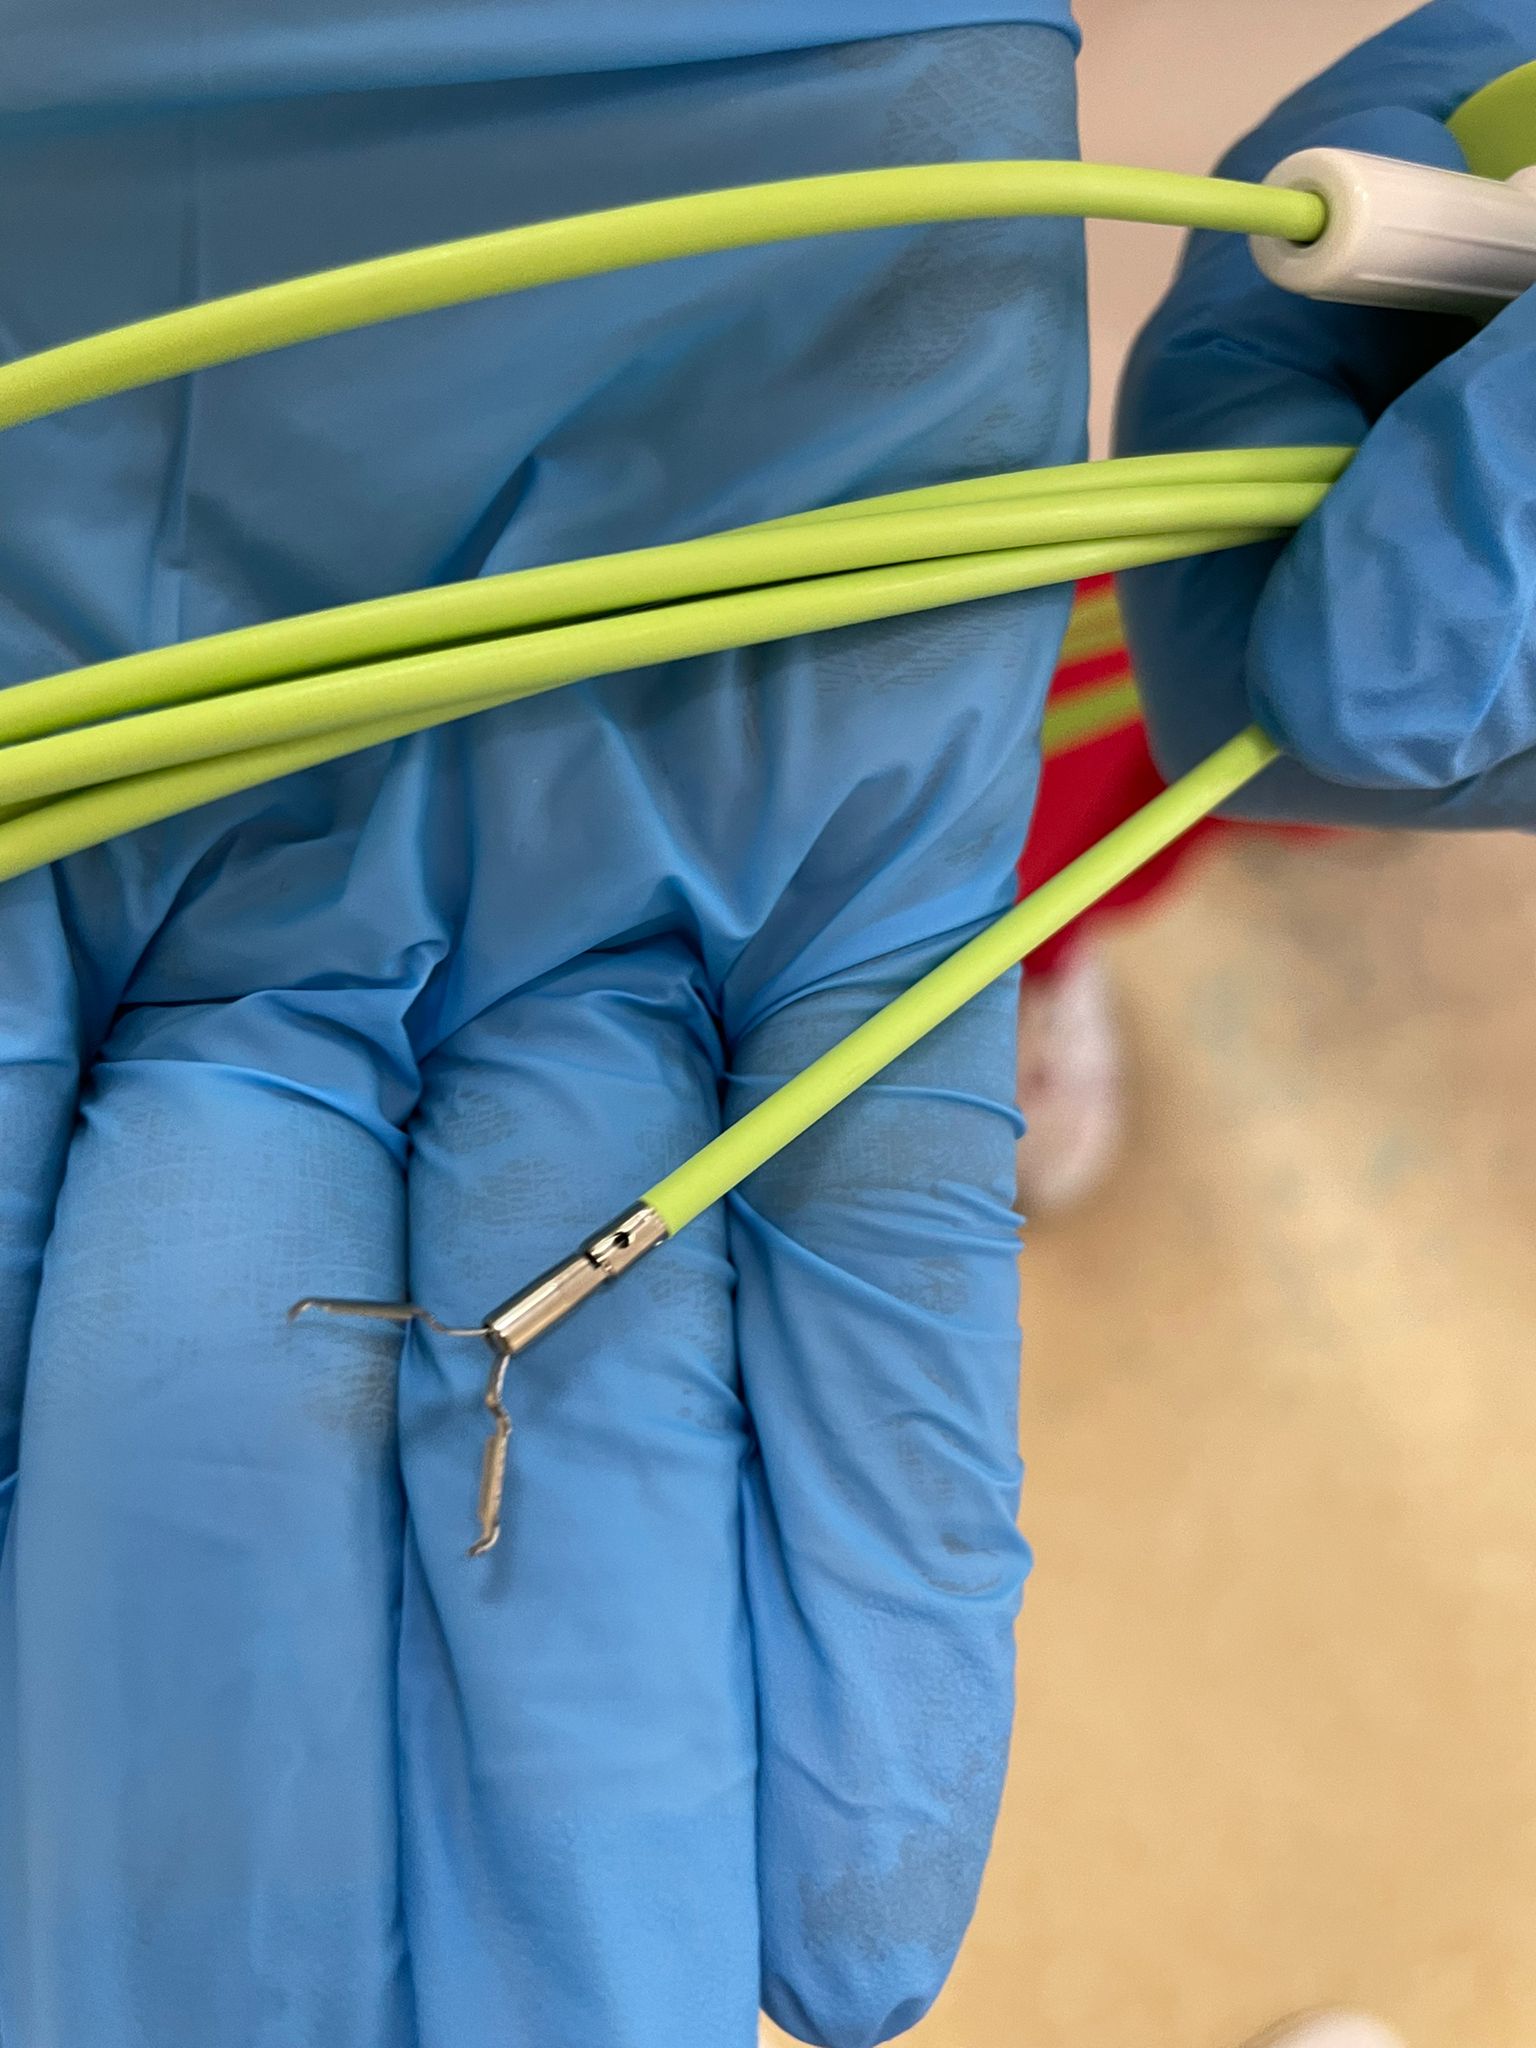
The mounting system for these clips is reusable, autoclavable before first use and of course after each procedure. Is composed of:
– ring (the color of the ring indicates the minimum diameter of the working channel)
– slider (green color indicates that this device is autoclavable)
– handle (rotating the handle will rotate the clip from the inside)
– insertion tube
– hook
Mounting the clip:
– move the slider back and forth and make sure the hook is not deformed
– open the package that includes the clip cartridge
– place the cartridge on top of the hook
– push the slider and hold it until you hear a click, then pull it proximally (towards you) until it stops (the clip is now attached to the hook, inside)
– when inserting the applicator into the working channel, make sure to withdraw the clip completely and do not force; if you encounter resistance, reduce the angulation of the endoscope.
Grasping the bleeding lesion :
– push the slider gently until you see the white part of the clip; from this point on, the clip can no longer be retracted in the applicator
– turning the handle also causes the clip to rotate, so be sure to keep your finger on the slider when turning the handle
– press the clip on the targeted lesion, pull the slider firmly to close the clip
– gently pull the slider back and forth to detach the clip from the white sheath.
Incidents :
Aspiration of a clip:
– withdraw the endoscope
– leave the biopsy valve
– remove the suction tube and connect a syringe with water
– while pressing the suction button, inject water into the suction connector of the endoscope

